
You're usually looking up HVAC start collar advice for one of two reasons. Either you're about to cut into a trunk line and want the branch takeoff to sit right the first time, or you're chasing a callback caused by whistle, rattle, weak airflow, or flex duct that won't stay put.
The annoying part is that the term itself creates confusion. In trade talk, a start collar is a duct fitting. Online, plenty of results drift into start capacitors, which are electrical components. That mix-up wastes time when you're on site and trying to solve an airflow problem, not an electrical one. If you work across multiple trades or coordinate mixed crews, it helps to keep terminology tight, especially on jobs where HVAC and plumbing scope overlap.
Table of Contents
- The Real Deal on HVAC Start Collars
- Choosing the Right HVAC Start Collar
- Essential Tools and Prep for Installation
- Installing and Sealing for Peak Airflow
- Solving Common Start Collar Problems
- Final Checks and Key Takeaways
The Real Deal on HVAC Start Collars
A proper HVAC start collar is one of those small parts that decides whether the rest of the branch run behaves or turns into a nuisance. If the collar is loose in the trunk, out of round, or left unsealed, the system tells on you fast. You get air noise, weak delivery at the grille, and that irritating “something's not right” complaint from the customer.
The first thing to clear up is the language. In standard HVAC terminology, “start collar” is often used for a duct takeoff fitting, while the electrical part some people mean by mistake is the start capacitor. That electrical component is what provides the motor's starting boost, and it's a different subject entirely. Industry guidance also notes that “start collar” isn't the recognized term for the electrical component, and that the correct term there is start capacitor or part of a hard start kit, as explained in this HVAC start and run capacitor guide.
Shop-floor reality: If the problem is airflow, branch takeoff fit, duct noise, or leakage, you're dealing with the duct collar. If the problem is compressor starting, you're in capacitor territory.
That distinction matters because manuals usually treat the duct collar like a throwaway fitting. It isn't. On real jobs, the collar is where bad layout, rushed cuts, poor fastening, and lazy sealing all show up at once.
What trips people up
- Wrong collar for the application: A light-duty collar in a vibration-heavy setup won't stay quiet.
- Bad cut quality: A rough or oversized cut leaves gaps that no amount of wishful thinking fixes.
- Tabs bent carelessly: Uneven tabs distort the fitting and make flex attachment harder.
- Seal skipped or half-done: The branch may hold physically and still leak badly.
A clean install isn't complicated. It just needs discipline. Mark the hole accurately, cut it clean, seat the collar fully, lock it down without deforming the metal, and seal every place air will try to escape.
Choosing the Right HVAC Start Collar
Picking an HVAC start collar isn't just about diameter. It's about how that branch will live once the blower is moving, the duct is hanging, and vibration starts working on every weak point.
What the collar actually has to do
A good collar has three jobs. It needs to sit tight in the trunk, give the flex or branch pipe a stable landing point, and stay quiet over time.
That means you don't choose by price first. You choose by job conditions.
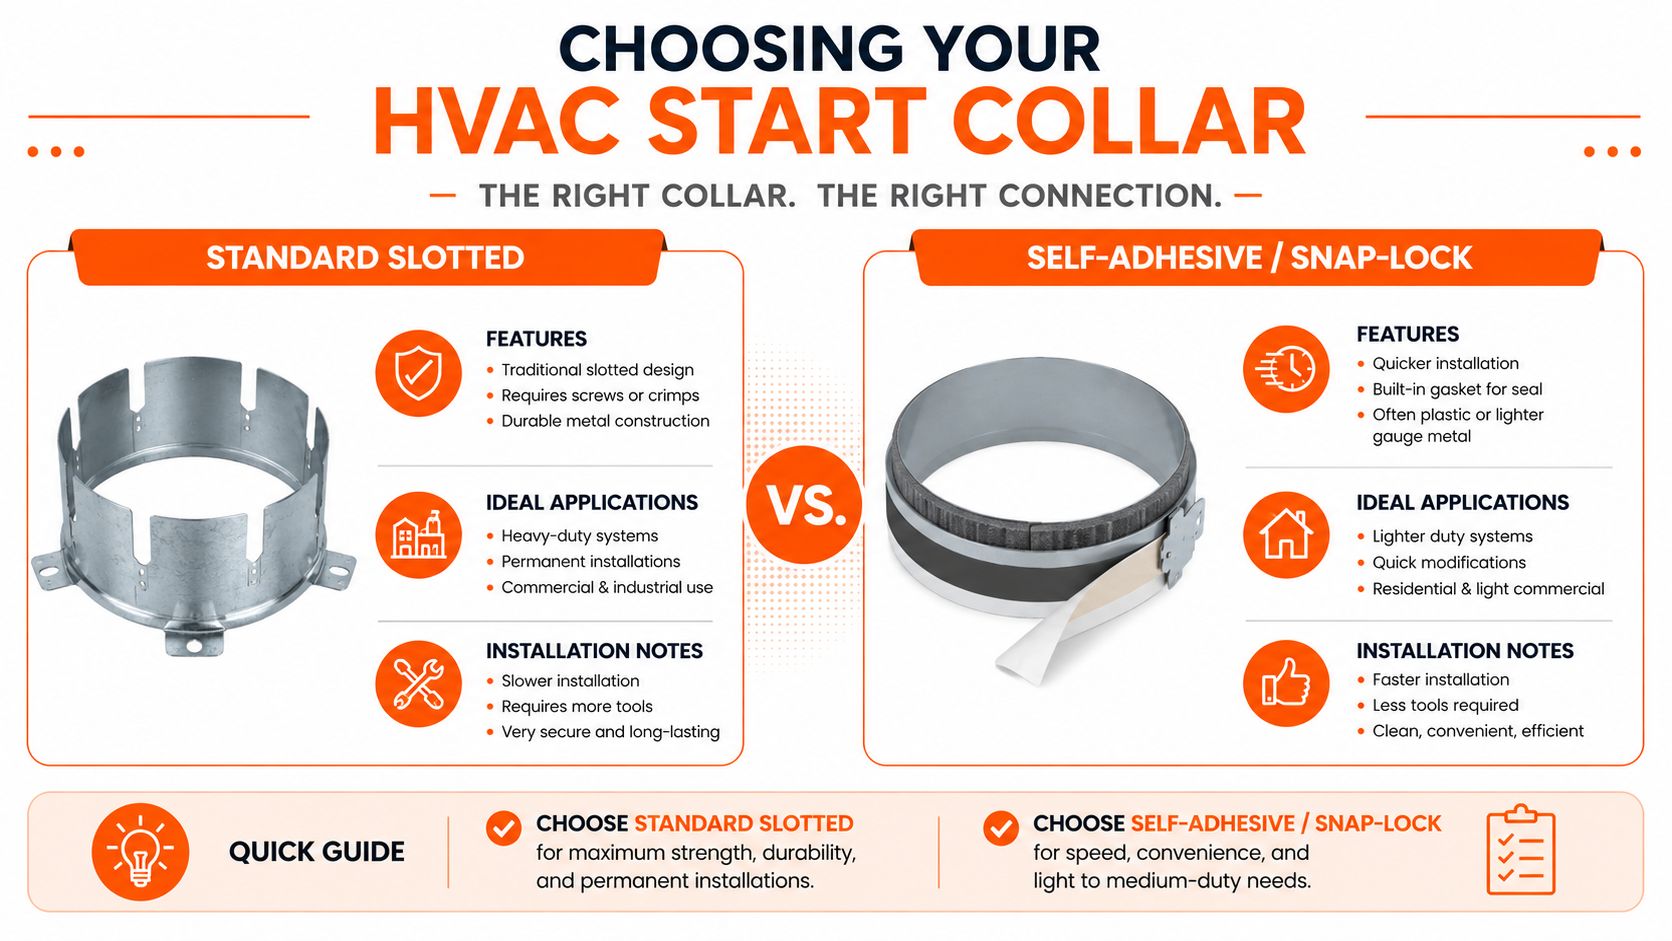
| Collar type | Best use | What to watch |
|---|---|---|
| Standard slotted | Typical residential trunk takeoffs and straightforward branch runs | Faster to fatigue if vibration is high and the install is loose |
| Dovetail | Better where movement and vibration are persistent | Needs a careful squeeze so you don't distort the opening |
| Self-adhesive or snap-lock | Quick modifications and lighter-duty work | Don't assume speed replaces proper fastening and sealing |
Slotted vs dovetail in the real world
The dovetail vs standard slotted question matters most on commercial gear, rooftop units, and any branch connection that sees ongoing movement. Trade professionals often find that dovetail collars can reduce service calls related to vibration fatigue compared to standard slotted types, because the inward-bending tabs create a tighter squeeze. The catch is that the comparison is still anecdotal, not backed by a published failure-rate study, as noted in this discussion of dovetail and slotted collar performance.
For plain residential work, standard slotted collars are still fine when the cut is right, the tabs are bent evenly, and the branch is supported properly. They're familiar, easy to stock, and forgiving if the rest of the install is solid.
For high-vibration systems, I'd lean dovetail every time before I'd trust a flimsy slotted collar and hope the screws carry the whole load.
A collar doesn't fail only because the metal was bad. It fails because the branch moves, the trunk vibrates, and the installer left the fitting to absorb both.
Material and fit choices that matter
You don't need to overcomplicate material selection, but you do need to stop treating all collars as equal.
- Heavier gauge for rougher duty: If the branch is larger, the run is heavier, or the unit vibrates more, a stiffer collar gives you a better base.
- Roundness matters: If the neck gets ovaled during handling or tab bending, flex won't sit right and fastening gets messy.
- Neck length helps retention: More landing area makes flex attachment cleaner and more secure.
- Edge quality counts: Burrs and ragged metal slow you down and make field fitting harder than it needs to be.
A lot of callbacks start with “close enough” selection. Close enough on a collar usually means the branch eventually talks back.
Essential Tools and Prep for Installation
An experienced tech doesn't show up to install an HVAC start collar with a random handful of sheet metal tools. This job goes faster when your kit is built around layout, clean cutting, controlled fastening, and airtight sealing.
If you're trying to keep the truck stocked without buying duplicates you'll never use, the same planning mindset that helps with forecasting HVAC and plumbing parts demand also helps here. Keep the tools you reach for on every branch takeoff in one place, not scattered across three bags.
What stays in the bag for this job
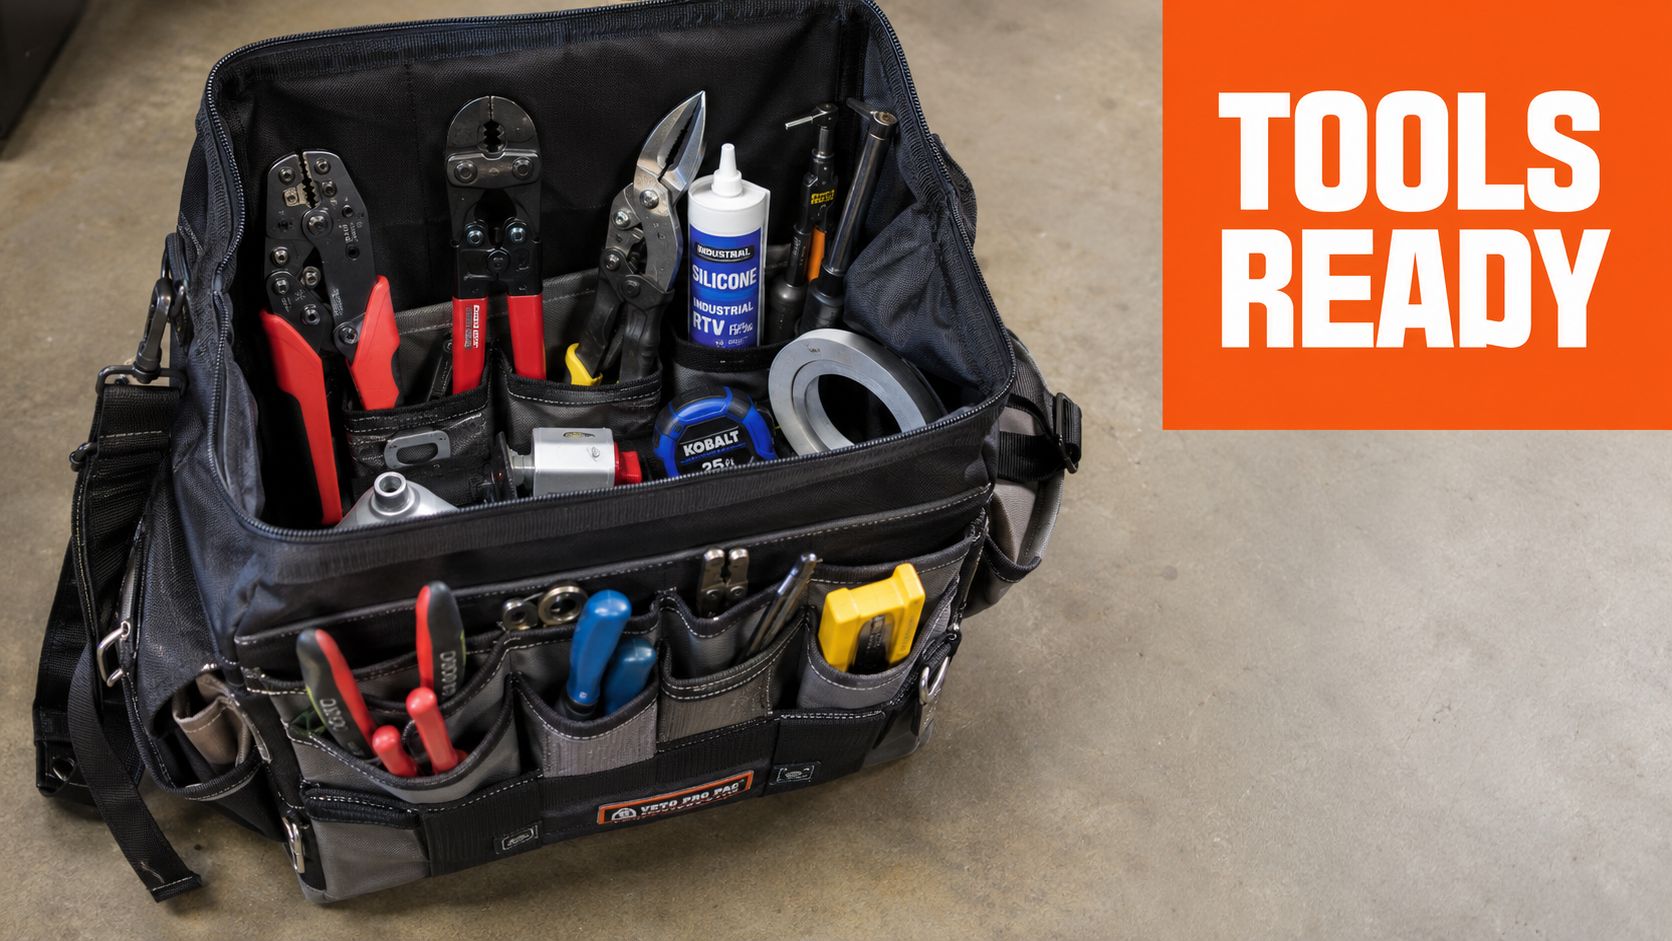
My basic loadout for collars is simple:
- Layout gear: Marker, tape measure, and a template if I'm repeating sizes.
- Cutting tools: Red and green aviation snips, plus a drill with the right bit for a starter hole if needed.
- Fastening gear: Impact driver, sheet metal screws, hand seamer, crimper when the branch setup calls for it.
- Sealing gear: Mastic, brush or applicator, and approved tape when it fits the detail.
- Support items: Zip ties or draw bands for flex, plus hanging support so the collar doesn't carry strain it shouldn't.
Prep that saves rework
Most ugly installs start before the first cut. The trunk is in an awkward spot, the branch path hasn't been thought through, and someone marks the hole where it's convenient instead of where the run wants to go.
Check these before you cut:
- Branch direction: Make sure the flex or pipe leaves the collar without a hard immediate kink.
- Clearance: Confirm there's room to bend tabs and get tools in.
- Surface condition: Don't install on damaged or flimsy sheet metal and expect a tight result.
- Support plan: Know how the branch will be supported so the collar isn't left holding weight.
Practical rule: If the branch needs force to line up with the collar, the collar is in the wrong place.
Good prep doesn't slow the job down. It stops the kind of rushed correction that doubles your time later.
Installing and Sealing for Peak Airflow
The first place collar jobs go bad is the cutout. Not the seal. Not the clamp. The cut.
Where installs go wrong first
If you mark loosely and freehand the opening without control, the collar won't seat evenly. Then one side grabs, the other floats, and you start “fixing” the fit by over-bending tabs or driving screws where they shouldn't be needed.
A better install has a steady rhythm. Mark the opening accurately. Cut just inside the line if you need to fine-tune. Dry-fit the collar before you lock anything down. If it sits naturally and the flange lands flat, you're in good shape.
After that, bend tabs evenly. Don't crush one side flat and leave the others half-started. Uneven tab work twists the neck and makes the branch connection harder than it has to be.
Here's the part junior techs sometimes miss. Mechanical attachment and airtight attachment are not the same thing. The collar can feel solid and still leak.
Why sealing isn't optional
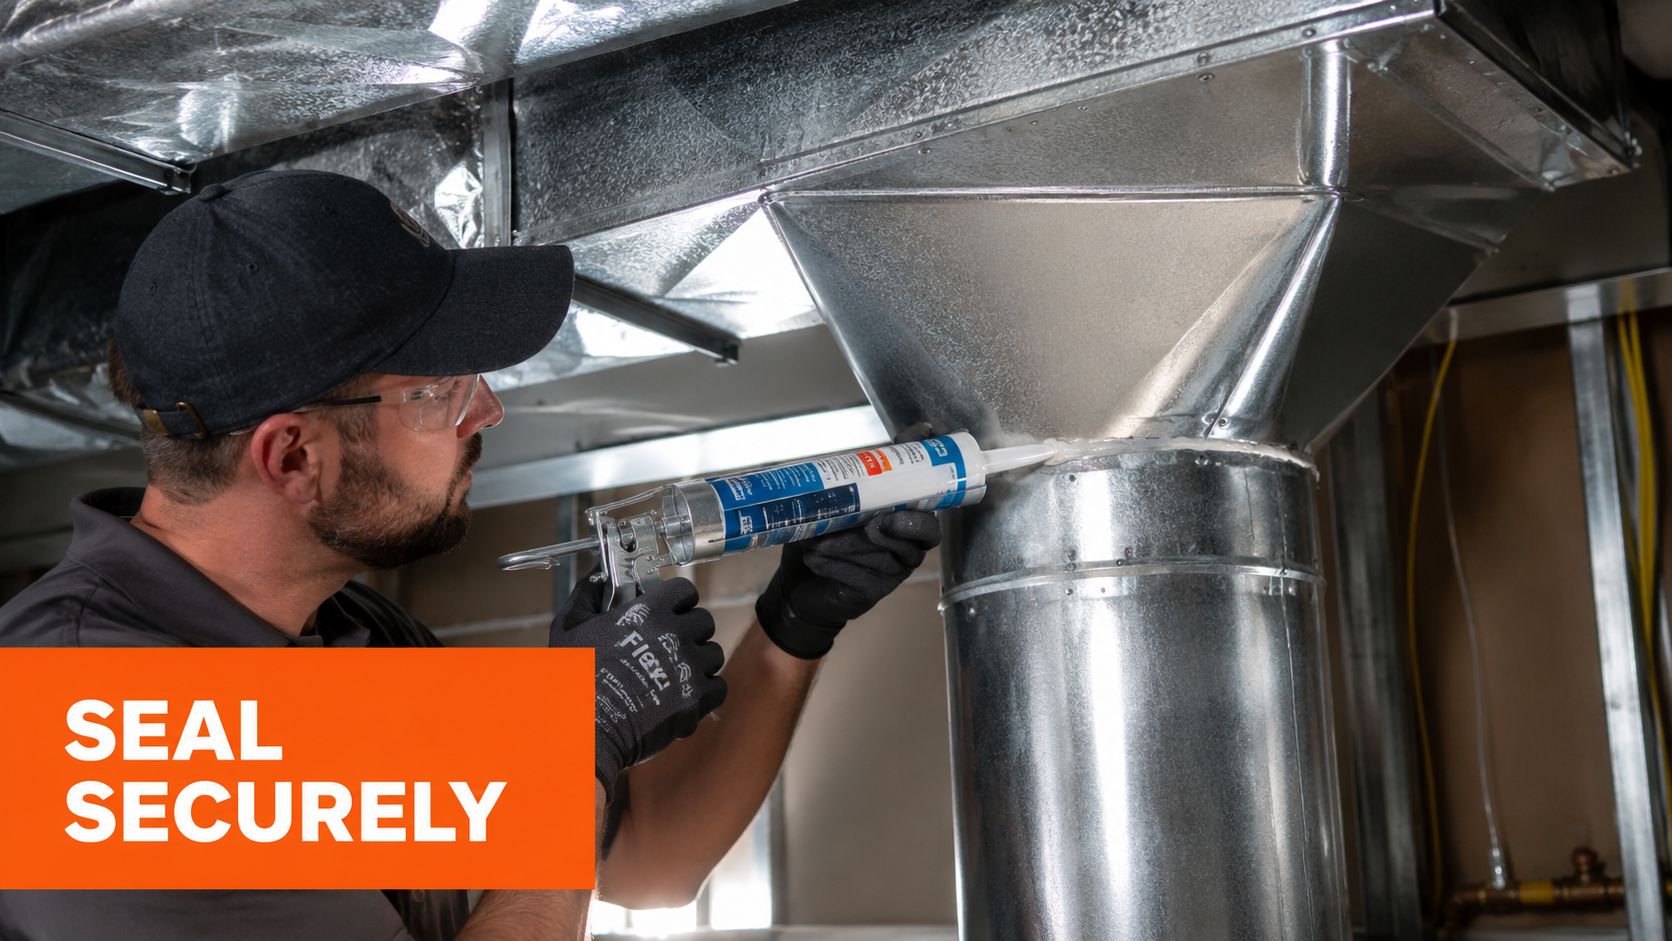
Skipping mastic on a start collar is one of those shortcuts that looks harmless on install day and turns into poor system performance later. Unsealed duct connections, including start collars, can leak 20–30% of conditioned air, which directly hurts system efficiency and increases energy cost for the customer, as shown in this duct sealing demonstration focused on start collars and mastic.
That's why the install isn't done when the metal feels secure. It's done when the air path is sealed.
Use mastic where the collar meets the trunk and work it into the seams, slits, and tab areas. Don't just ring the outside and call it finished. Air finds the little openings installers leave behind.
A video walk-through helps if you want to see how thorough sealing should look in practice:
Mastic vs tape on this detail
Tape has its place, but on collar seams and tab cuts I trust mastic more because it conforms to the irregular shape of the metal. Tape needs a good surface and good pressure. A collar install usually gives you edges, slits, and tiny transitions that are easier to seal permanently with brushed or applied mastic.
Use tape where it fits the detail cleanly. Use mastic where air will exploit every shortcut.
- At the flange: Seal the full perimeter where the collar meets the trunk.
- At the tabs and slits: Rushed installs often leak at these points.
- At the branch connection: After the duct is attached and secured, finish the air seal there too.
- At support points: Make sure hanging and support don't pull the branch sideways and break the seal over time.
The branch takeoff that looks neat but leaks is still a bad install.
One more field point. Don't use the flex duct itself to force the collar into alignment. Set the collar first, seal it properly, then attach the branch so the duct follows the fitting instead of fighting it.
Solving Common Start Collar Problems
Most start collar problems show up as symptoms. The duct slips off. The branch rattles. Air whistles. The room never seems to get enough flow. If you diagnose by symptom first, the fix gets a lot quicker.
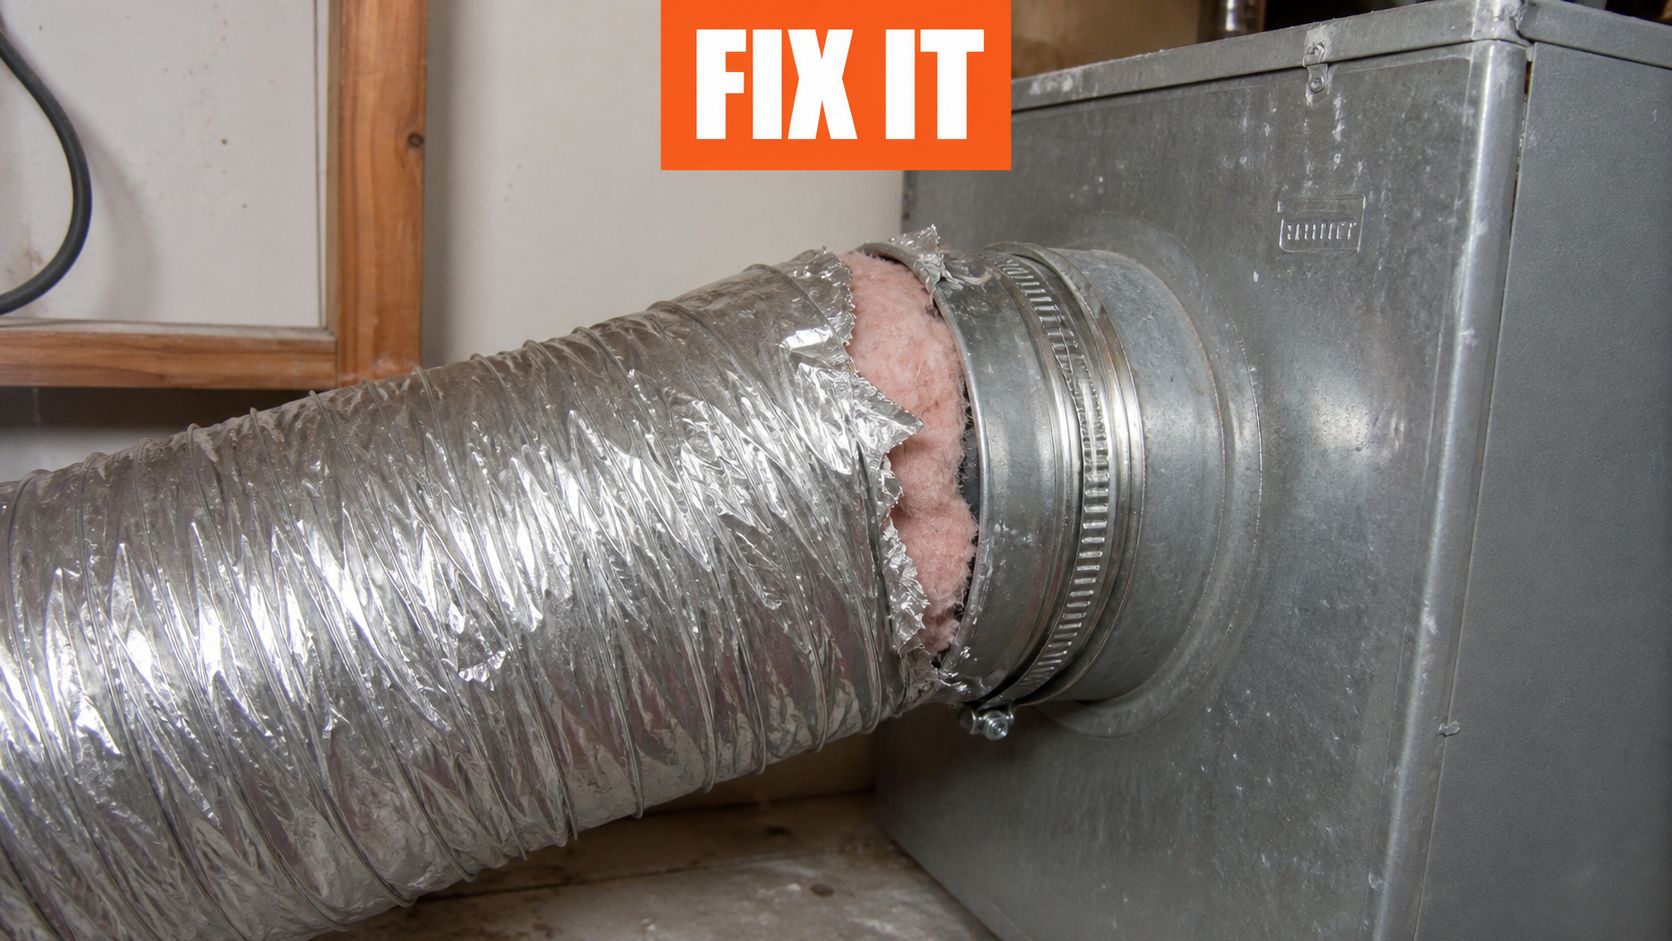
If you handle service work in occupied homes, this is the kind of fault that often drives customers to search for local HVAC and plumbing help before they know what failed. A loose collar or detached branch can sound bigger than it is, but it still needs a proper fix.
If the duct keeps slipping off
The usual causes are simple. The neck is out of round, the flex wasn't pulled over far enough, the clamp or draw band is poor, or the branch is carrying strain from bad support.
Fix it by reshaping the neck if needed, reseating the inner liner fully, securing it properly, and taking weight off the connection. If the branch is constantly trying to fall away, support is the primary issue.
If you hear rattle or whistle
Rattle usually means movement. Whistle usually means leakage or a sharp edge in the air path.
Check these points:
- Collar movement at the trunk: Tighten the mechanical connection if the fitting shifts.
- Loose tabs or poor seat: Rework the attachment if the collar never sat flat.
- Unsealed gaps: Go back and seal the leakage path properly.
- Branch misalignment: If the duct leaves the collar at an ugly angle, straighten the run.
If the cutout is ugly or oversized
This one separates patch jobs from professional work. If the opening is just slightly rough, you may be able to clean the edge, reseat the collar, and seal thoroughly. If the opening is badly oversized, don't pretend sealant alone is a structural solution.
Use a proper patch approach, restore a solid mounting surface, and reinstall the collar so the branch connection starts from sound metal.
If the base metal is weak, every fix above it is temporary.
A lot of troubleshooting comes back to the same root causes. Poor selection for the vibration level. Weak mechanical fit. Incomplete sealing. Once you see those patterns, collar callbacks get much easier to eliminate.
Final Checks and Key Takeaways
Before you leave the job, stop and look at the collar like the next tech will. If you'd hate to service your own install later, it isn't finished yet.
The quick exit checklist
- Right collar for the job: Standard slotted is fine for plenty of branch takeoffs, but higher-vibration systems deserve a tighter, sturdier choice.
- Clean mechanical fit: The collar should sit flat, hold shape, and stay quiet without relying on the branch to keep it in place.
- Full air seal: Every seam, slit, and flange area needs attention. If air can find it, it will.
- Branch supported properly: The collar should connect the duct, not carry the run.
- No noise on startup: Listen before you pack up. Rattle and whistle are easier to fix now than on a callback.
The small fittings are where workmanship shows. Anyone can cut a hole and shove in a collar. The tech who chooses the right style, fastens it cleanly, and seals it completely is the one who stops the return visit.
GrowTradie helps tradies stay visible without having to write posts after hours. If you want a practical system that creates and publishes content for your trade business automatically, have a look at GrowTradie.